
Is this Birds of War combat guide advice final?
No. It is a launch-period framework based on the official game structure and should be re-checked after balance updates.

Birds of War combat guide: understand melee-first fights, physics ragdolls, aerial positioning, carrier defense, and safer decisions around enemy nests.
Movement-focused footage for approach, exit, and aerial positioning.
~6 min read
Sponsored
This Birds of War combat guide page is a practical reference for Steam Early Access matches. It separates confirmed game structure from tactics that remain patch-sensitive, so you can make a useful decision without treating a short launch window as permanent truth.
| Fact | Detail |
|---|---|
| Platform | Steam (Windows PC) |
| Format | Online 3v3v3 aerial PvP |
| Core objective | Raid nests, carry eggs, and defend your own |
| Launch birds | Crow, Hummingbird, Shoebill, Pigeon, Eagle, Owl, Seagull |
| Launch maps | Highrise, Arctic, Vietnam, Coliseum, Forest |
| Modes | Egg Siege / Conquest, TDM, FFA, Infected |
| Status | Steam Early Access — July 22, 2026 |
| Price | $9.99 |
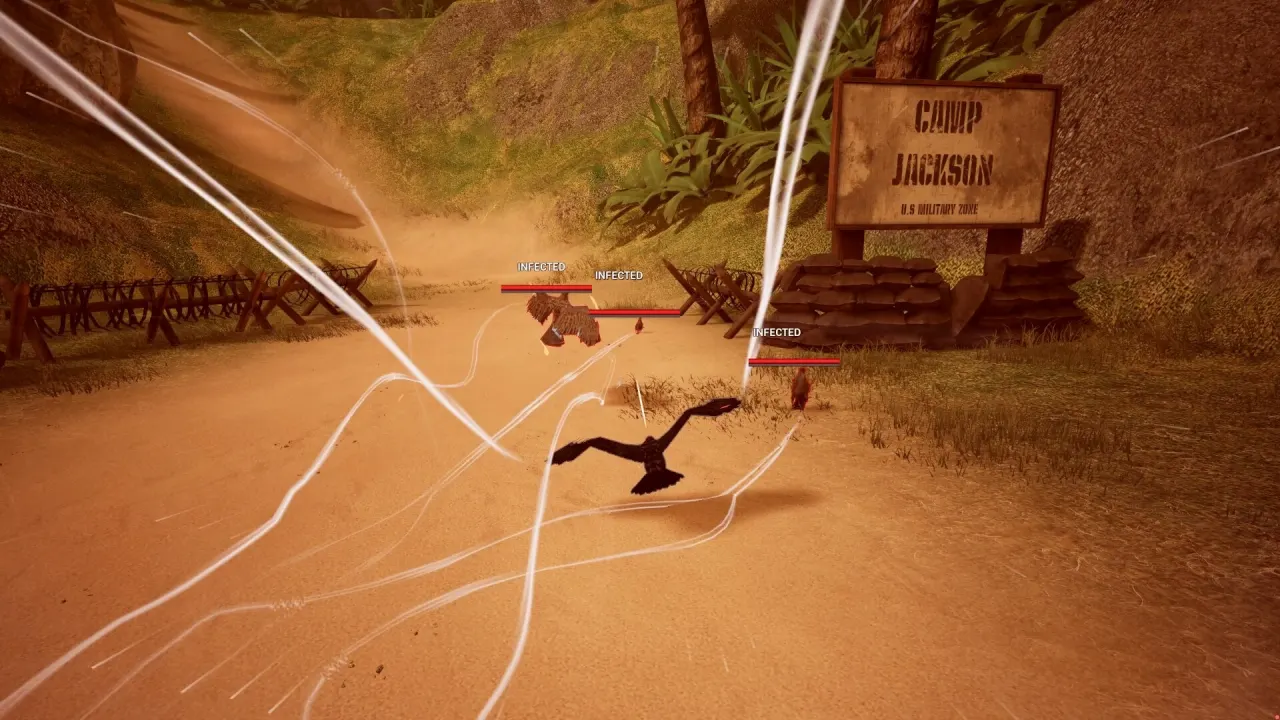
Birds of War combat is melee-first and physics-driven, but it is not a separate deathmatch layered over Egg Siege. Start a fight to stop a carrier, clear a defender, protect your own carrier, or create the short opening required to reach an egg. Starting because a target is visible risks dragging the team away from the only location that matters.
A winning exchange can still be a losing decision if it pulls your three players into the same lane and the third team reaches your nest. Keep one player aware of home pressure. The moment the objective changes, the fight’s purpose changes too.
| Fight reason | Commit? | Desired result |
|---|---|---|
| Enemy carries an egg | Yes | Interrupt the route, then recover home |
| Target guards a nest | Usually | Create a brief pickup window |
| Enemy is isolated far from objectives | Only with a fast exit | Deny their rotation, not a long chase |
| Two teams already brawl | Carefully | Contest the egg or take a safer nest |
| Your nest is open | No | Return and stabilize |
After a hit or ragdoll, reassess the egg and routes. A downed opponent may be a signal to leave, not to pile on. The next section covers how height and momentum create safer openings.
Height is an information and approach tool. It lets a Diver look for an opening, an escort see a pursuit, and a defender identify which lane an enemy is taking. It does not make a player invulnerable. High flight can advertise a dive, separate you from allies, and remove the cover needed to escape.
Enter from an angle that gives your team two lines, not one. If a teammate is forcing attention at the nest, arrive from the side or above with a route already chosen. If the target turns, you have gained space; if the target commits, you have an exit. This is safer than three players attempting the same frontal collision.
Ragdoll effects create time, not an automatic elimination. Use that time to reposition, deny a route, or protect the carrier. Chasing a displaced enemy into unfamiliar space is especially dangerous when a third team can arrive. That restraint is the bridge to role selection.
Matched by build plan, shared topics, and guide progression — not random related links.
The roster’s labels give a useful combat vocabulary. Eagle looks for a dive from height. Crow looks for a vulnerable line. Shoebill can anchor a contested area. Pigeon can help a team share awareness. Hummingbird pressures and chases. Owl waits for a messy opening. Seagull disrupts decisions. These are approach patterns, not a substitute for current patch notes.
A balanced group does not require every label. It needs someone who can start pressure, someone who can make the objective space safer, and someone who can adapt when the fight becomes a carry or defense. Read the roster table with that question in mind.
| Role pattern | Good combat question | Objective conversion |
|---|---|---|
| Diver | Is there height and an isolated target? | Force a route break |
| Saboteur | Who is away from their team? | Create confusion at a nest |
| Anchor | Where must the enemy pass? | Hold the return or defense space |
| Support | Who needs information or cover? | Make the team’s next call clearer |
| Disruptor / Harasser | Who can be moved off a clean line? | Delay pursuit or defense |
Ability details and balance values can change rapidly. Learn the positioning purpose first, then check dated official notes before building a combo around an exact threshold. Next, compare the birds as teammates rather than isolated kits.
Birds of War is young enough that a strong-looking play can be a reaction to one lobby, one map, or a patch that has already changed. Use role labels and the objective loop as the stable layer; treat exact damage, cooldown, health, and route claims as provisional unless a current official note confirms them. That distinction matters more in a 3v3v3 game than it would in a duel, because a third team can punish both sides after a seemingly winning exchange.
The practical test is simple: ask whether the advice still works when another team enters the fight. A route is good when it gives the carrier an exit, a defender a sightline, and the flexible player a decision. A fight is good when it protects an egg, stops an egg, or creates safe space for the next move. If it does none of those things, it is probably entertainment rather than match progress.
| What you notice | Reliable response | What not to assume |
|---|---|---|
| A patch changes a bird | Re-check the official patch note and play the objective role first | That an old tier label remains correct |
| A teammate calls for help | State whether the threat is at nest, on route, or already escaping | That everyone can see the same target |
| Two teams are fighting | Approach with an exit and decide whether to contest or steal | That the first knockout ends the danger |
| A tactic works once | Repeat it across maps and enemy roles before calling it standard | That one clip proves a universal route |
Proximity voice makes information valuable and risky. Calls such as “carrier leaving nest,” “defending home,” or “third team above” tell allies what decision is required. Long explanations reveal position and arrive too late. Keep the call tied to the egg, the route, or the next regroup.
That information discipline leads directly into the next decision: open seven-bird roster and apply one decision at a time.
No. It is a launch-period framework based on the official game structure and should be re-checked after balance updates.
Yes. It is a $9.99 Steam Early Access 3v3v3 aerial PvP game from HexNest Games. Open the Steam listing.
No fixed composition is required for the guide to help. The useful baseline is still three jobs: create pressure, protect the objective, and preserve an exit.
Continue with seven-bird roster so the next match has one concrete objective to practise.
Matched by build plan, shared topics, and guide progression — not random related links.